Ever looked at a sketch and thought, “I wish I could do that”? Well, guess what—you can. Drawing isn’t about being naturally gifted or having fancy materials. It’s about learning to see differently, practising regularly, and, most of all, allowing yourself to enjoy the process.
Whether you’re a total beginner or someone returning to art after years away, this guide is here to help you take those exciting first steps. Let’s explore what drawing can do for you—and how to get started with the right tools, tips and techniques.
Why Bother to Learn to Draw?
We live in a fast-paced world filled with screens, schedules and distractions. Drawing is a welcome pause. It’s a moment to slow down, notice the details, and tune into your imagination. And the benefits? There are loads.
- It boosts creativity – Drawing helps you think visually and approach problems more imaginatively.
- It reduces stress – Focusing on lines and shapes is calming—like a form of active meditation.
- It improves observation – You’ll begin to see things differently: light, texture, form, perspective.
- It builds patience – Drawing trains you to stick with something, refine it, and take pride in small progress.
- It boosts confidence – Every new drawing teaches you something. You’ll start to surprise yourself.
In short? Drawing is great for your mind, mood and personal growth.
What You’ll Need to Get Started
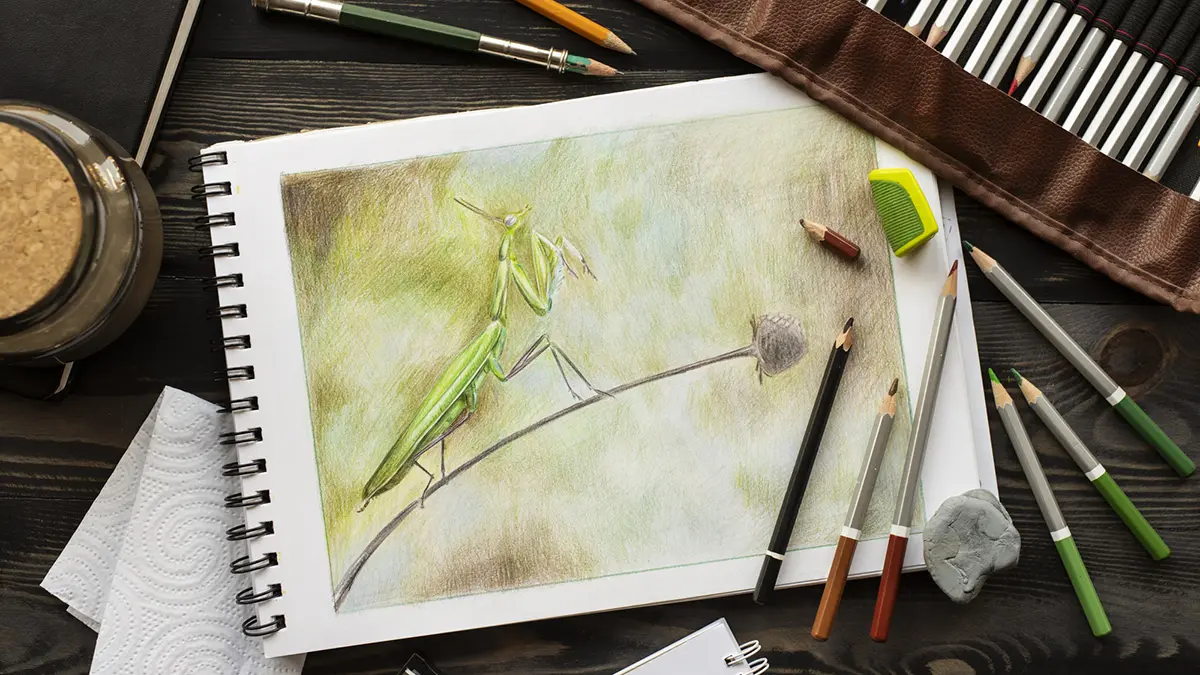
Let’s clear one thing up: you don’t need a huge collection of supplies. To begin with, all you need are a few simple tools:
- Pencils: Get a range of pencils if you can—HB for general sketching, and 2B to 6B for softer, darker shading. You don’t need the full set, just a few will do.
- Eraser: A kneaded eraser is ideal. It’s soft, mouldable and won’t tear your paper.
- Paper: A decent sketchpad with smooth paper is perfect. It doesn’t need to be expensive—just something that feels good to draw on.
- Sharpener: A sharp pencil makes all the difference. Keep it handy.
- Optional: Blending tools like a paper stump or tissue can help you create soft, smooth shadows. A ruler is useful for perspective drawings.
That’s it. You’re ready to go.
Start Simple: See the World in Shapes
Here’s the secret most beginners don’t realise: everything—everything—can be broken down into simple shapes.
Take a look around you. That mug on your desk? A cylinder. That apple? A sphere. Your phone? A rectangle. When you train yourself to see the world in shapes, drawing becomes far less intimidating.
Try this:
Pick a basic object—say, a book. Instead of drawing the whole thing, sketch the rectangle first. Then lightly mark in the pages or the cover. Gradually add details. You’ll be amazed at how accurate your sketch becomes when you start with structure.
Practise drawing shapes regularly: circles, squares, triangles, ovals. Fill a page. Do it again. Each line builds control and confidence.
Get Comfortable with Outlines and Contours
Once you’ve got the hang of shapes, it’s time to start defining the edges of things. This is where contour drawing comes in.
Contour drawing is all about the outlines. You’re not shading or adding texture yet—you’re focusing on the outer and inner edges of your subject. It’s a great way to improve observation skills and steady your hand.
Fun exercise:
Try blind contour drawing. Look at an object (say, your hand), and without looking at your paper, draw its outline in one slow, continuous line. It might look a little wonky—but it will train your brain to focus on form and flow.
Understand Light and Shadow
Now let’s talk about making things pop off the page. That’s where shading comes in.
Shading gives your drawing depth. It turns your flat shapes into three-dimensional forms and helps your viewer understand where the light is coming from.
First, find the light source.
Where is the light hitting your object? Where are the shadows? Where’s the darkest area? Look closely and start experimenting.
Then try these techniques:
- Hatching – Draw a series of parallel lines to create tone.
- Cross-hatching – Layer those lines at different angles for deeper shadows.
- Blending – Use a tissue, finger, or blending stump to smooth out tones and create soft transitions.
- Texturing – Use your pencil to suggest different surfaces, like fur, wood, or fabric.
Start with a simple form—like a sphere or a cube—and practise shading from one light source.
Draw from Real Life (Not Just Your Imagination)
The best way to improve quickly? Draw what’s in front of you. It might sound obvious, but drawing from observation helps your eye and hand work together. You’ll learn how to measure, compare and translate 3D things into 2D sketches.
Start with still life: a bowl of fruit, your shoes, your coffee mug. Keep it simple. Don’t aim for perfection—aim for accuracy, and let the detail come later.
Once you’re ready, try a basic one-point perspective drawing. Sketch a road or hallway where all lines converge at a single vanishing point. It’s a great way to understand depth and distance.
Drawing People (Yes, You Can)
Drawing faces and figures can feel scary, but don’t let that stop you. People are just another collection of shapes and proportions.
- Head proportions: The eyes are halfway down the head. The nose sits halfway between the eyes and chin. The ears align with the eyes and nose.
- Figure proportions: An adult body is around 7.5 heads tall. Learning these basics helps you sketch more balanced figures.
Use reference photos, or pick up a small wooden mannequin to practise poses. Try gesture drawing—quick 1–2 minute sketches that capture movement and energy. It’ll loosen you up and make your people look more natural.
Find Your Style (It’s in There Somewhere)
Eventually, you’ll find yourself drawn (no pun intended) to certain styles, tools, or subjects. That’s when your personal style starts to form.
Play around:
- Try sketching with pen instead of pencil.
- Add a splash of colour using watercolour pencils or markers.
- Copy a favourite artist’s work (for practice only!) to learn their techniques.
- Mix digital and traditional methods.
Style isn’t something you pick—it’s something that emerges through exploration. Keep going, and it’ll come.
Practice, Practice, Practice
If there’s one thing every artist agrees on, it’s this: the more you draw, the better you get.
Make it a habit:
- Set aside 15–30 minutes a day.
- Keep a sketchbook and draw anything—your coffee, your cat, your keys.
- Don’t delete or tear out “bad” drawings. They’re all part of the journey.
- Challenge yourself with new subjects or drawing prompts.
And remember—progress might be slow, but it will happen. Every sketch is a step forward.
Final Thoughts
Learning to draw is one of the most satisfying things you can do for yourself. It’s creative, therapeutic, and genuinely enjoyable. You’ll begin to see the world in new ways—appreciating detail, beauty, and shape in places you never noticed before.
So go ahead: pick up that pencil, make a mark, and don’t worry if it’s not perfect.
Because every artist starts somewhere. Why not start today?


